
When you’re having PC issues and are in need of computer repair, sometimes it can be a simple and easy fix. So much so, that you can handle it yourself.
If you’re having browsing issues or your default gateway address shows it’s beginning with “169.254” – this can be your breezy solution. The process is known as a “winsock reset”, a “comms reinstall”, “restart network interface”, or an “airport reset”. Which, in layman’s terms is resetting your network adapter’s software to default. And this article will teach you how to do it. Whether you’re using a version of Mac OSX, Windows, or Linux – we have a solutions for everyone.
If you want to skip ahead to the operating system you need to perform a network adapter reset in, click on a link below. Or continue reading on.
Table of Contents
Resetting Your Network Adapter in Windows 10
- In the bottom, left-hand corner of the screen – there should be a magnifying glass icon (aka Search button). Click on it, then type “cmd” into the search bar that pops up.
- The “Command Prompt” app should pop up at the top of the list as the best match. Right-click on it and select “Run as administrator”. You may be asked to provide an administrator password before you can continue… Depending on your computer settings of course.
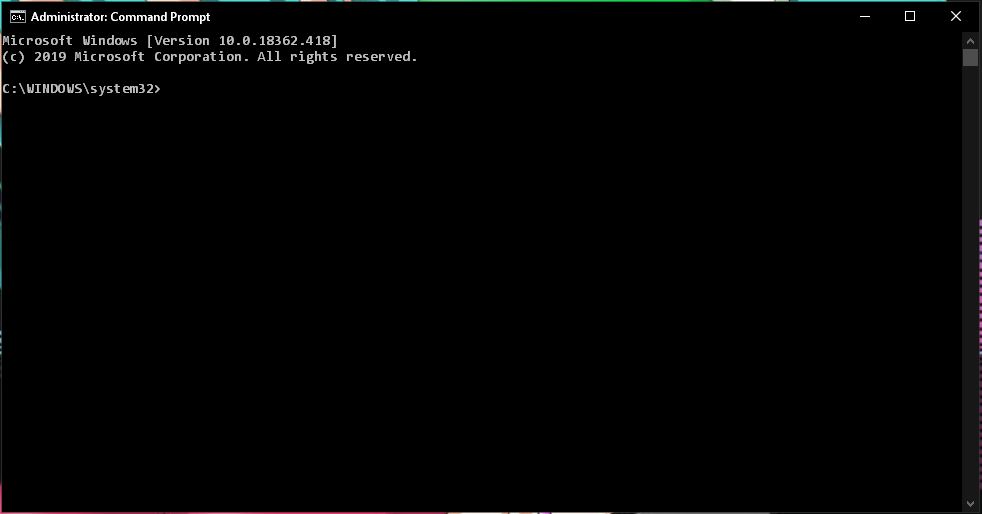
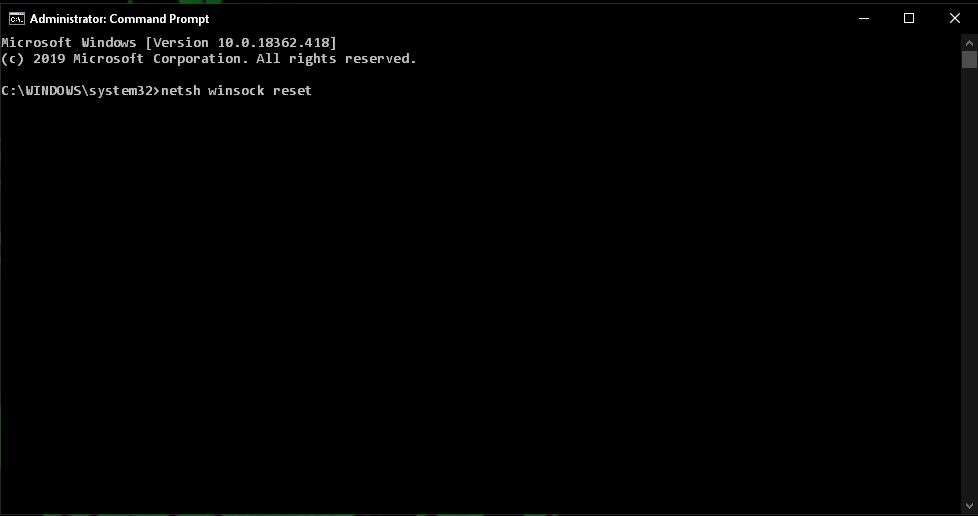
- A black window with white lettering and a flashing cursor will open. As it will state in the top right hand corner, this is the Command Prompt. On a new line, type “netsh winsock reset” and then press the “Enter” key on your keyboard.
- From there, the Command Prompt will run through the reset, wait for it to finish. Once it’s complete, you’ll see the message “Winsock reset completed successfully”.

- Like with any other change, such as updates, to your computer – you will then need to restart the device to finalize the process.
Network Adapter Reset in Windows 8
- To make the vertical menu bar appear, move the mouse to the upper right-hand corner of the screen. Then click “Search”.
- In the search bar, type “cmd”, then hit the “Enter” key on your keyboard.
- In the search results for programs, right-click on “cmd“, then select “Run as administrator”. You may be asked to provide an administrator password before you can continue… Depending on your computer settings of course.
- A black window with white lettering and a flashing cursor will open. As it will state in the top right hand corner, this is the Command Prompt. On a new line, type “netsh winsock reset” and then press the “Enter” key on your keyboard.
- From there, the Command Prompt will run through the reset, wait for it to finish. Once it’s complete, you’ll see the message “Winsock reset completed successfully”.
- Like with any other change, such as updates, to your computer – you will then need to restart the device to finalize the process.
Winsock Reset (Network Adapter Reset) in Windows 7
- Click on the orb in the bottom, left-hand corner of the screen to open the Start menu.
- In the search bar at the bottom of the menu, type “cmd”.
- In the search results for programs, right-click on “cmd“, then select “Run as administrator”. You may be asked to provide an administrator password before you can continue… Depending on your computer settings of course.
- A black window with white lettering and a flashing cursor will open. As it will state in the top right hand corner, this is the Command Prompt. On a new line, type “netsh winsock reset” and then press the “Enter” key on your keyboard.
- From there, the Command Prompt will run through the reset, wait for it to finish. Once it’s complete, you’ll see the message “Winsock reset completed successfully”.
- Like with any other change, such as updates, to your computer – you will then need to restart the device to finalize the process.
Network Adapter Reset in Windows XP
- In the bottom, left-hand corner of the screen, you’ll find a button labeled as “Start” – click on it.
- In the right-hand column, select the Search option.
- In the search bar, type “cmd”, then hit the Enter key on your keyboard.
- In the search results for programs, right-click on “cmd“, then select “Run as administrator”. You may be asked to provide an administrator password before you can continue… Depending on your computer settings of course.
- A black window with white lettering and a flashing cursor will open. As it will state in the top right hand corner, this is the Command Prompt. On a new line, type “netsh winsock reset” and then press the “Enter” key on your keyboard.
- From there, the Command Prompt will run through the reset, wait for it to finish. Once it’s complete, you’ll see the message “Winsock reset completed successfully”.
- Like with any other change, such as updates, to your computer – you will then need to restart the device to finalize the process.
Resetting Your Network Adapter in Windows Vista
- In the bottom, left-hand corner of the screen – you should see an orb. To open the Start menu click on that orb.
- In the right-hand column of the menu, select “Control Panel”.
- Select “Network and Internet”, followed by clicking “Network and Sharing Centre”.
- In the left-hand column, select “Manage Network Connections”.
- Highlight “Local Area Connection” by clicking it once. Followed by clicking “Diagnose This Connection“. You may also be able to right-click “Local Area Connection” and select “Diagnose”, instead.
- Once the diagnosis is finished, click “Reset the Network Adapter”.
- After the reset is complete, restart your computer to finish the process.
Mac OSX or macOS Airport Reset (Network Adapter Reset)
Please Note: As Mac OSX and macOS are different operating systems than Windows… they don’t have Winsock. As a result, you won’t be able to perform a what is called a “Winsock Reset”. But, they do have their own way to perform a Network Adapter Reset, known as an “Airport Reset”. Thus, you may find the following steps useful:
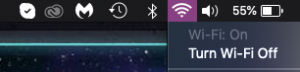
- In the top, right-hand corner of your screen, click the “Network” icon.
- In the resulting drop-down menu, select “Turn Wi-Fi/Airport Off”. And wait approximately 1-2 minutes.
- Once the system finishes processing this request, during that waiting period of time – repeat step one. Then select “Turn Wi-Fi/AirPort On” from the drop-down menu.
- Once the Wi-Fi/Airport program is finished restarting, you can then reconnect to your default network. Afterwards you can attempt to view another website.
Restart Network Interface (Network Adapter Reset) in Linux
Please Note: Just like with any other operating system for a PC, there are many different versions of Linux. All based off of user-preference. In this article, we cover the steps for the generic method below. If you would like to view alternative options, read more here.
- Open up “Command Lines“.
- Follow the procedure to turn off eth0 interface. By typing “# ifdown eth0“.
- Turn on eth0 interface by running “# ifup eth0“.
- Then see the ip address info using the ip command “# ip a show eth0“.
Recent Comments